How I Find (Great!) Hikes in the Swiss Alps
I think it's fairly obvious by now that I spend a lot of time hiking. What may be less obvious is all of the research that goes into finding these trails. I'd need to do the math, but I wouldn't be surprised if the hours I spend researching hikes greatly outnumber the hours I spend actually doing them.
Here is my process. It looks like a lot when you see it all laid out. But I promise, not only does all the work pay off…as with all things, it gets easier the more you do it.
Step 0: Before anything else, start a trail list
Have you ever heard me say, "oh wow that looks like a great hike, adding it to the list!" I really do have a list: a long, ever-growing collection of trails I want to do. Whenever I come across a hike I like the look of - whether it’s from a blog, the SAC magazine, a friend’s recommendation, Instagram - I drop it in. So when a sunny weekend rolls around and I'm ready to plan, I'm not starting from scratch. I already have a curated collection of trails to pull from.
Now, I'm old-school and use a spreadsheet for this (Google Sheets if we are getting specific), but it’s pretty simple. All you really need is a place to put the name of the hike, the region, the best season, and a link to the trail map or blog post. Nothing fancy. Technically, you could use anything - a note on your phone, a saved folder on Instagram. But I prefer a spreadsheet because I can really let my Type A side come out, and add columns, sort by region, filter by season, write in comments, and so on.
Step 1: Choose a region
Switzerland is unique in the sense that the main hiking regions aren't clustered in national or regional parks. Instead, the entire country is essentially one big hiking trail. Which is amazing, but is a bit overwhelming. You could literally hike anywhere, which can make planning feel impossible if you don't first narrow in on a region. And two main factors determine my hiking region du jour: the weather, and how long I'm willing to travel.
Every hike I plan starts in the same place: the weather forecast. I open MeteoSwiss and look at the week ahead. I'm not entirely a “fair weather hiker” - I will hike in the clouds or rain - but if given the choice, I obviously want to hike where the weather is nice! And Switzerland has quite a few microclimates, meaning it could be raining in Appenzell, but still sunny in Central Switzerland or Valais. So, I see what the weather gods have planned for the country, and find the best spot.
If there are multiple areas, then I consider how far I want to travel. I'm not opposed to a long day with multiple transfers, but I don't always want to endure a 3+ hour train journey (no matter how beautiful it is). Those two factors together point me to a region.
Step 2: Decide the type of hike
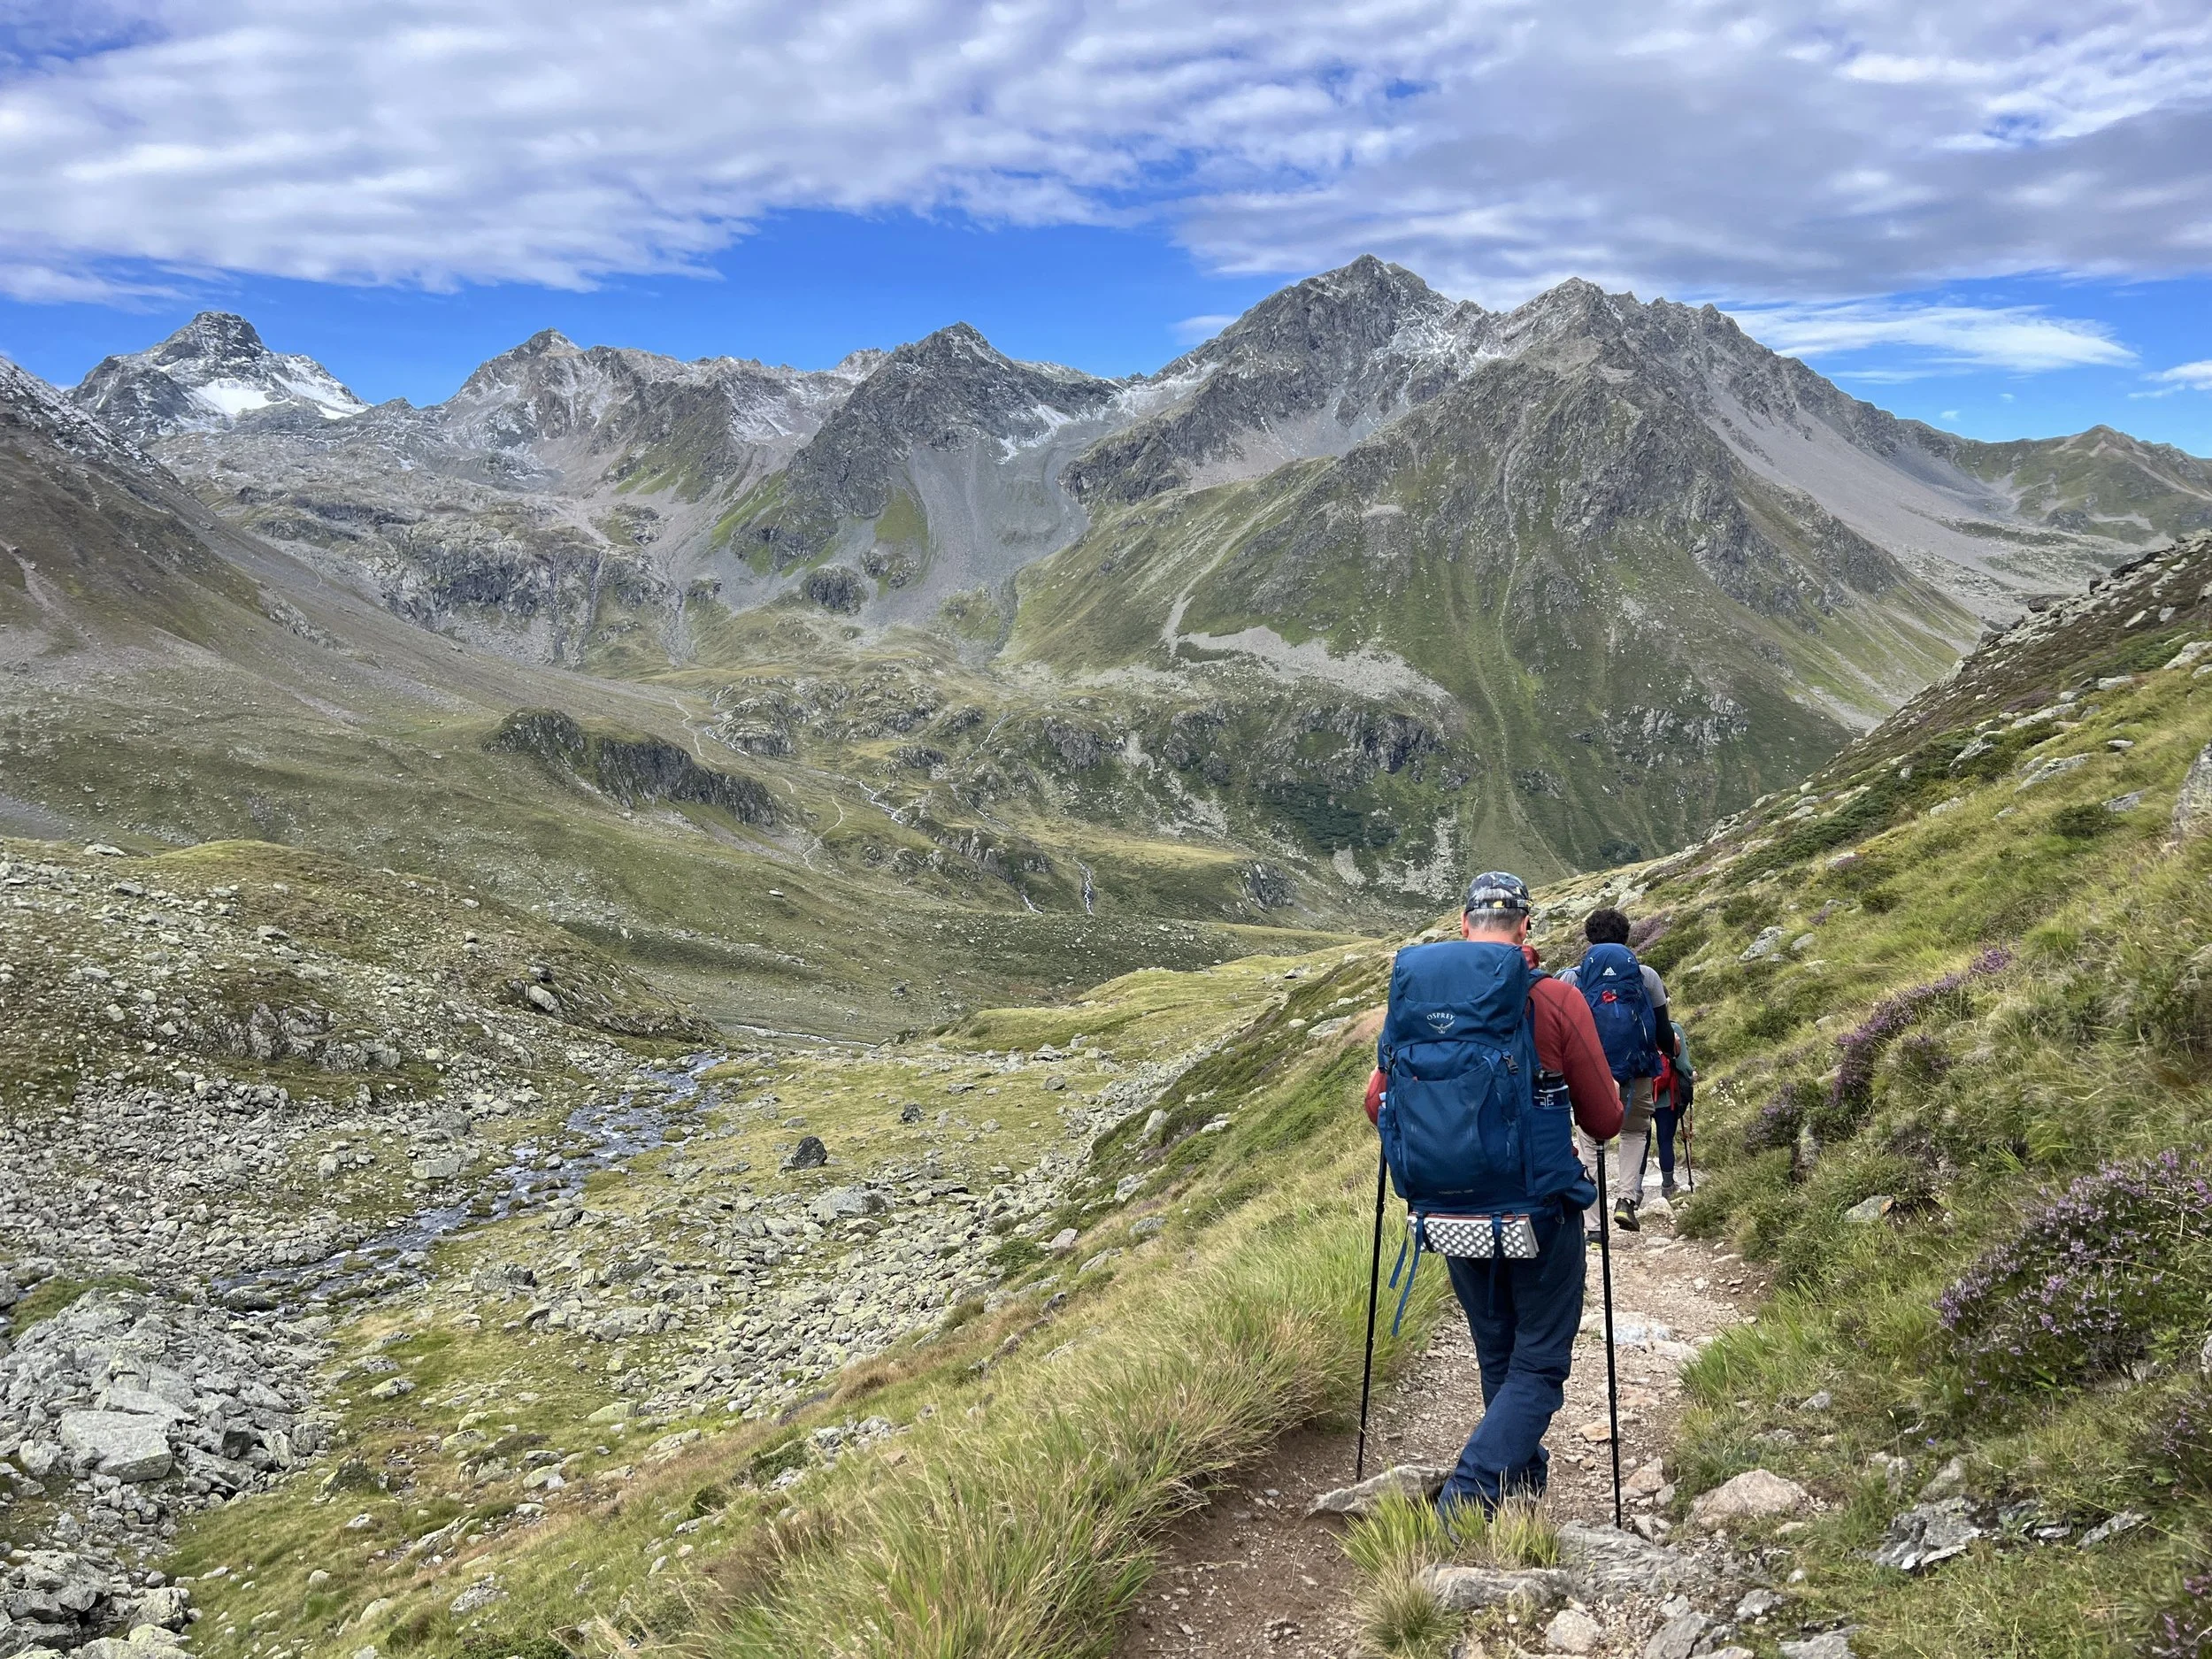
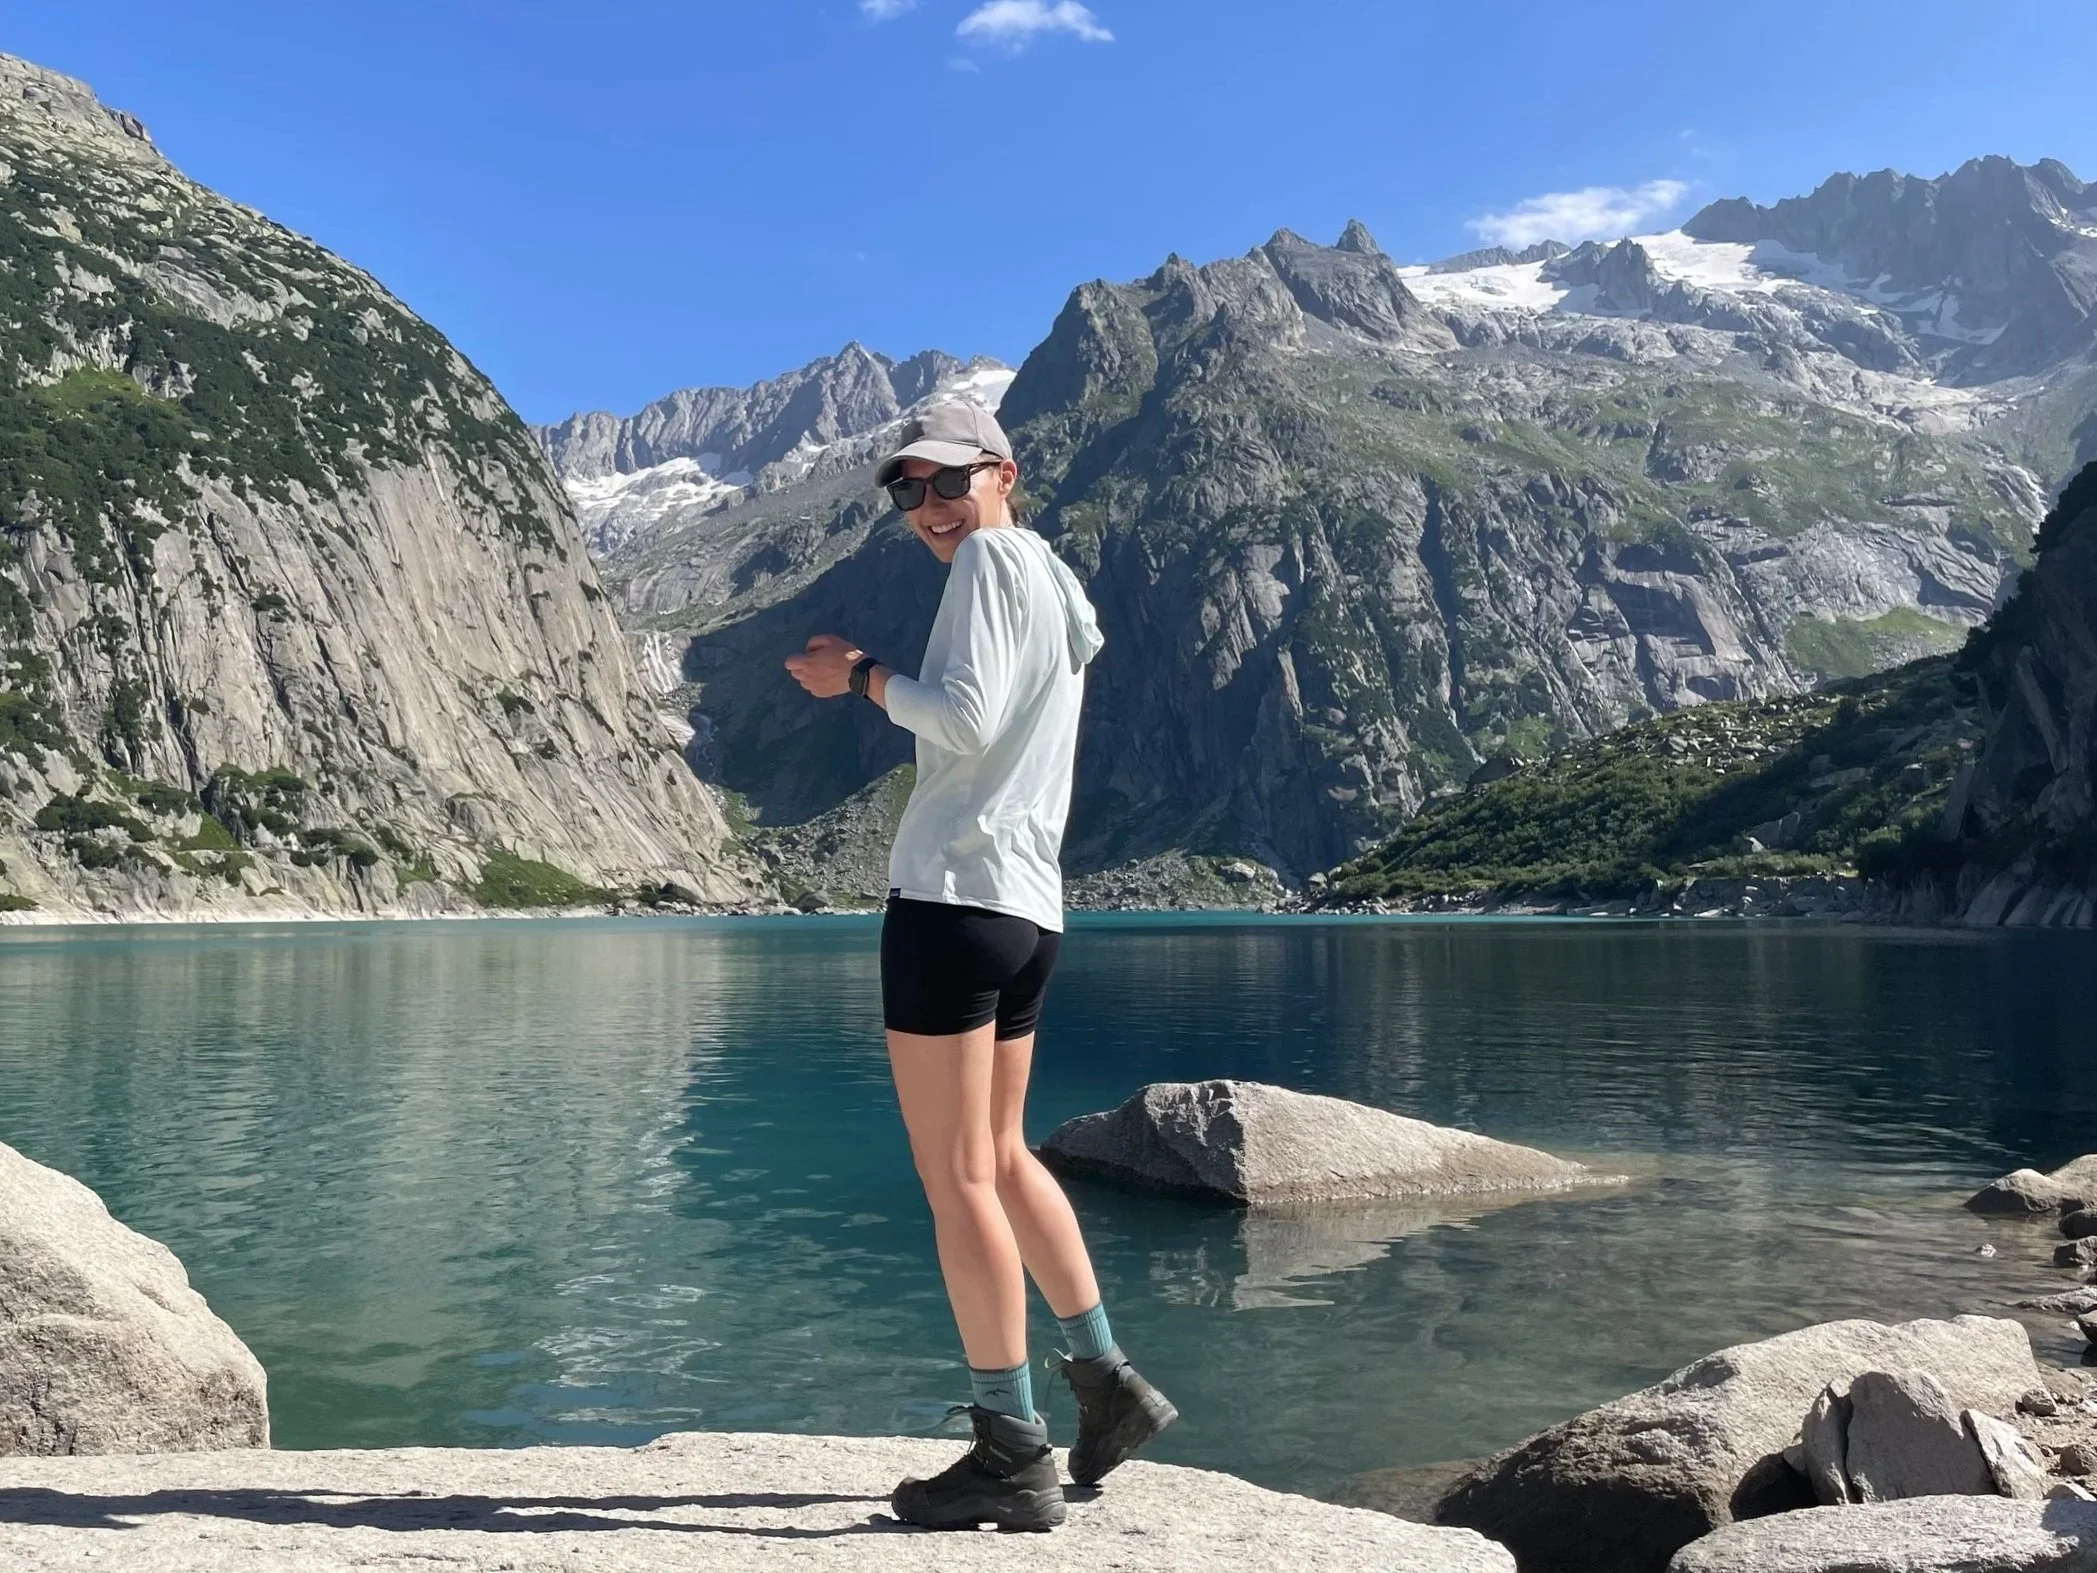
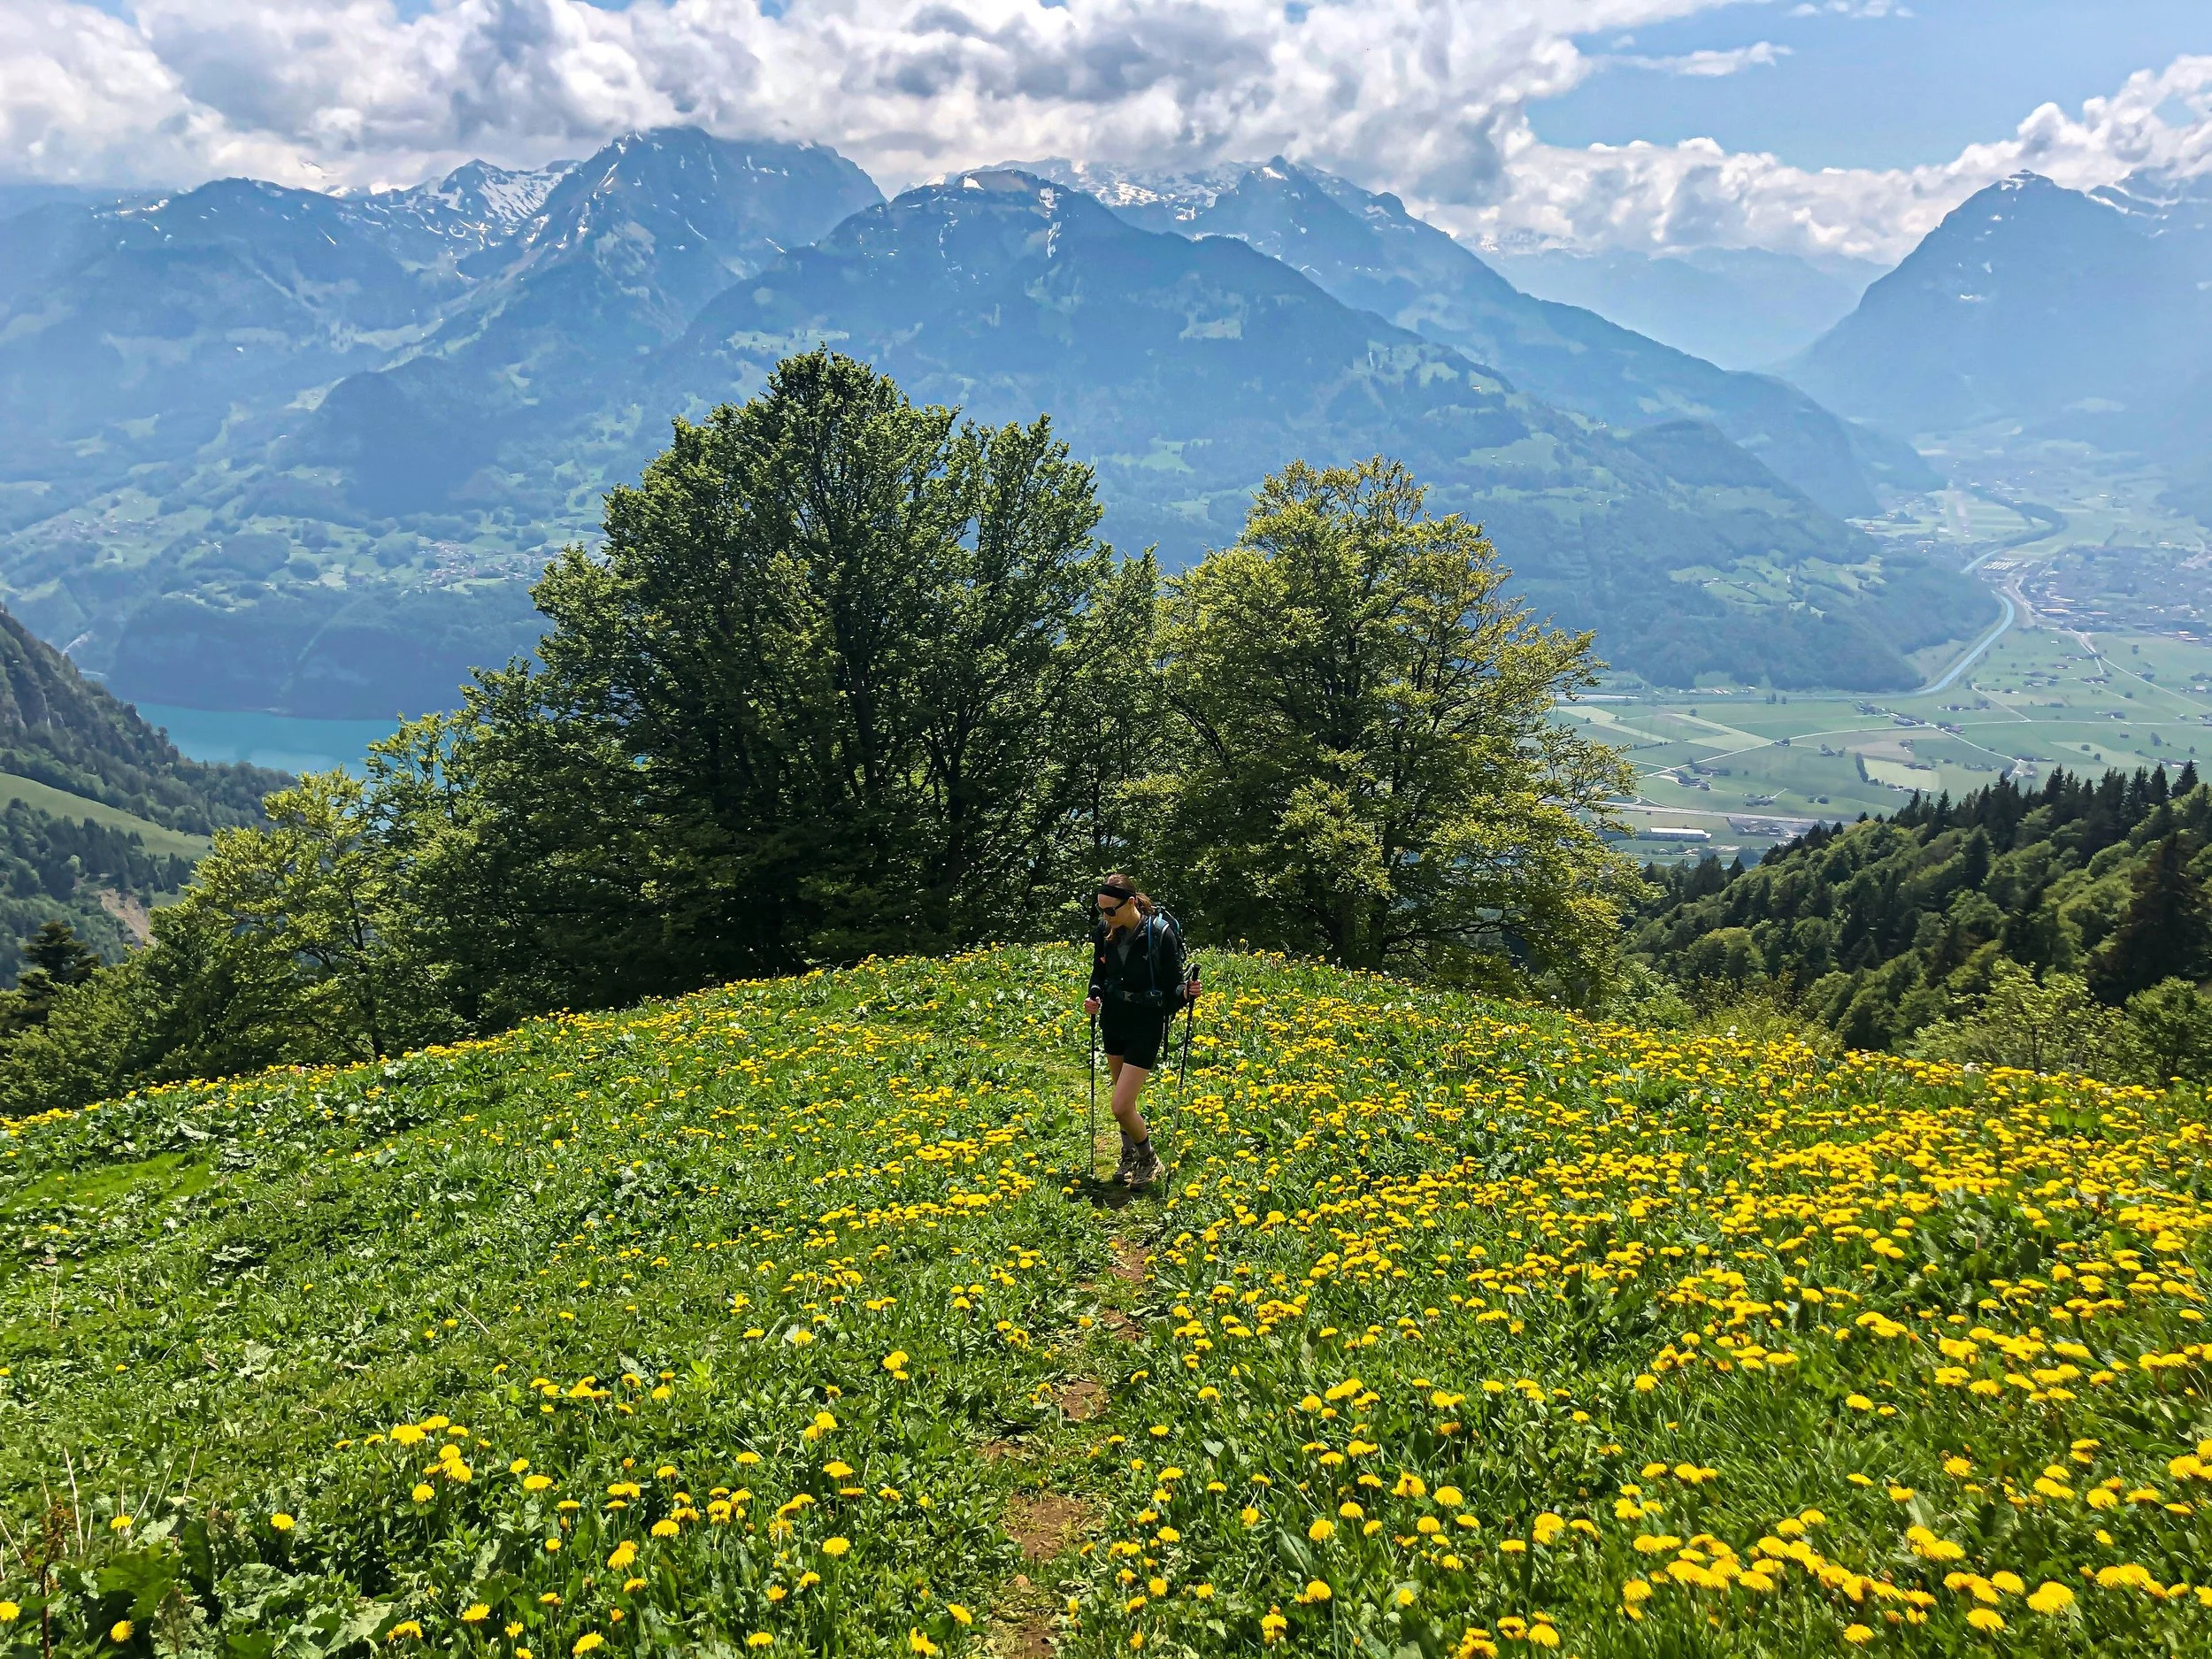
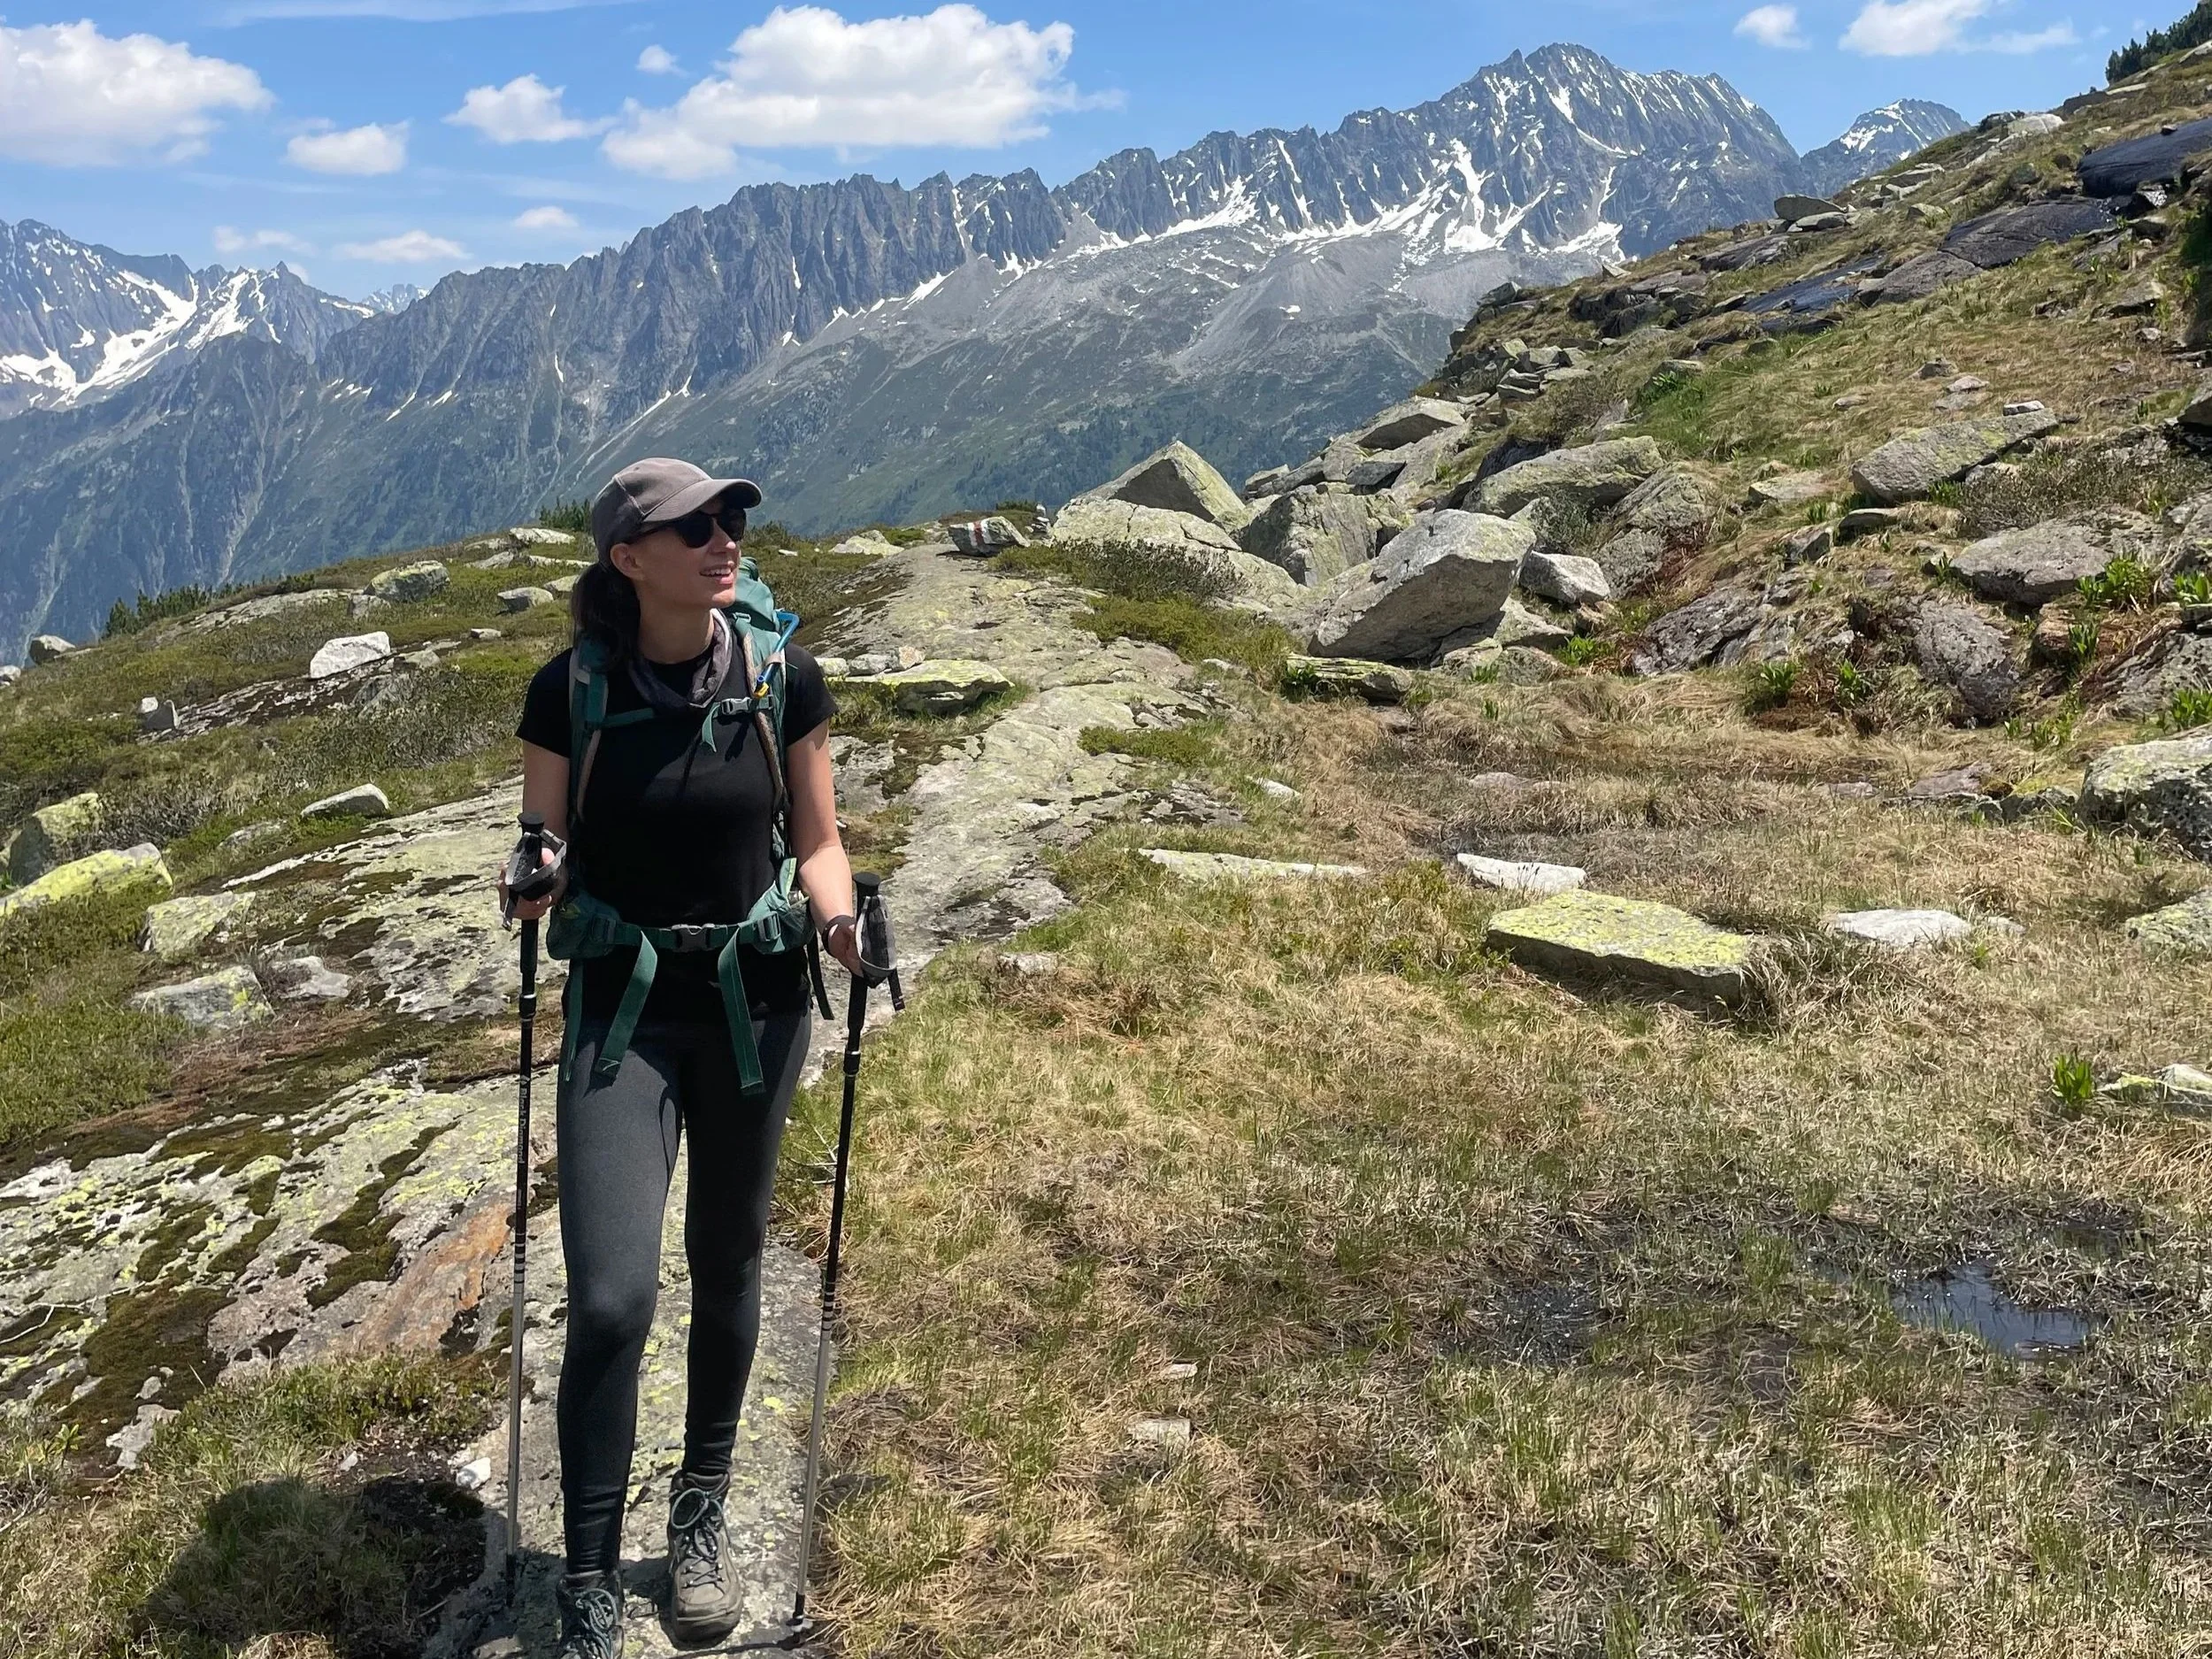
Hike to Fahlensee via Zwinglipass, AI
Once I have a region, I take a step back and think about what I actually want from the day. How long do I want to be hiking? How much elevation gain can my legs handle? What kind of terrain and landscape am I in the mood for - a ridge walk, a valley, a lake, a summit? Circular or point-to-point? Am I after something challenging, or do I want a more relaxed day out?
The weather also influences my choice of trail. For example, if it's a heatwave, I consider how exposed a trail is to the sun and whether there is shade. Likewise, on a hot day I'll try to find a hike that passes by a lake - or ends near one! If it's going to be super windy, I might stay off ridges. And so forth.
Step 3: Find a trail
Now that I have a region and a rough idea of the type of hike I'm after - the fun can really begin!
I first consult my trusty spreadsheet, because chances are I've already got a few trails saved for that region. But if nothing fits, I start browsing the interwebs:
SchweizMobil (Switzerland Mobility) — this is a map of Switzerland's ENTIRE trail network, and as such, my #1 planning resource. It shows every marked hiking trail in the country, along with a lot of other useful information. I don't know if other countries have something like this, but it's really remarkable. There’s also an app, but I like to use the desktop version for hike research.
SAC (Swiss Alpine Club) — this is my go-to to find information on more technical trails & summits, and detailed route descriptions. Also really useful for hut research!
Wegwandern.ch — a German-language hiking database with a big collection of trails across Switzerland. I don’t know if many people know about this website, but it’s great, and you can filter by region, difficulty, season, etc.
Canton and mountain websites — many regions have their own hiking portals: the Jungfrau Region, Graubünden Tourism, Valais, and many others. These tend to have really well-curated local route suggestions (and they often have great webcams, too!).
MySwitzerland — the official Swiss tourism site. Great for inspiration and browsing lots of different curated route ideas.
Blogs & social media — this might be surprising, but I don't really use these in this step. I do use them later though, when I want to find more information about a specific trail I've already found. More on that next!
This is definitely the most time-intensive step of the process. I can literally spend hours doing this (happily, I might add, considering I have since made a whole business out of it!). But I do think it's worth it, especially if you want to find something a little off the beaten path. The popular trails are popular for a reason, of course, but if you're looking for something with fewer crowds, it will take some internet sleuthing to get there.
A note for anyone just starting out: I'd recommend sticking to official routes from SchweizMobil or canton websites first. They are well-marked and take all the guesswork out of planning. As you get more comfortable - with navigation, with reading topo maps, and with your own hiking level - you can start creating your own unique routes. But I hiked for years here only on official trails and never got bored, so I promise, there is something for you.
Step 4: Do deeper research
Once I've found a trail that looks promising, I like to dig a little deeper before I fully commit. First, I always zoom in on the topo map to get a better sense of the terrain: where the steep sections are, how exposed a ridgeline is, whether there may be scree or boulder fields to deal with. Trail stats like distance and elevation gain tell you a lot, but the map tells you even more.
Then I go looking for recent trip reports. You can just google the hike name or peak, and see what comes up. Often there's at least a hiking blog post or a trip report on hikr.org. YouTube is also a great resource! Oh, and this is where Instagram can really come in handy. I search for the location and look through recent tagged photos to get a sense of the trail (or the views!).
I also check webcams. Most canton and mountain websites have them, and they're very useful, especially early or late in the season when conditions can be unpredictable.
Finally, I always double-check for trail closures. You can activate a "closures" layer on both Switzerland Mobility and SwissTopo, and it will show you if a trail is closed for any reason & and offer a diversion. This is really important. Switzerland generally takes a "personal responsibility" approach, which means a closed trail won't necessarily have a big sign when you arrive. It's up to you to know it's closed before you go. So please check!
P.S. This step and the one before it kind of work in tandem! Sometimes I'll find a trail, do a little deeper research, decide it's not quite right, and go back to browsing. Trust the process!
Step 5: Map out your trail
I always route the trail myself using the SwissTopo app and download it offline before I go.
I will be honest: in the very beginning of my Swiss hiking journey, I did not do this. I actually had no idea how to read a map. I was basically screenshotting hikes from blogs, and following the written descriptions (and the trail signs). But I've come to really love routing it out myself for two reasons: First, because it's always smart to have a map with you. And second, because routing it myself means I've actually looked at the map properly. I know where I'm going, where I start and where I end, and I have a sense of the terrain before I even set foot on the trail.
Now, I have to pause here and give a very shameless plug for SwissTopo. AllTrails and Komoot are fine apps, but I'd really encourage you to make the switch, or at least use SwissTopo alongside whatever you're already using. Why? Well - besides the fact that it’s the best - it has all the critical Swiss-relevant information in one place. It shows every single public transit stop (and integrates seamless with the SBB app), has the most detailed and accurate maps of Swiss terrain available, shows trail closures, recent snow depth, and even more granular details like the nearest water source or information on a mountain hut. For hiking in Switzerland specifically, nothing comes close. And, I find it to be very intuitive and user-friendly. AND - it’s free!
Step 6: Figure out the logistics
Almost ready! Now, I just need to sort out the logistics.
First, I plan my transit on SBB, checking my travel connections to get there and back. I pay close attention to the return route, since in more remote areas the bus might only run a couple of times a day, and I really don't want to be stuck waiting for hours if I miss it.
If the hike involves a gondola or cable car, I always confirm the operating times in advance. Opening dates and first/ last ride times vary by season, and even in the height of summer, the last ride down is always earlier than I expect. Some smaller cable car stations also close over lunch - sometimes for an hour or two! - so all of that is good to know beforehand.
And I always check what food options exist along the route. Will I pass by a mountain hut where I can stop for lunch? Is there a restaurant at the end where I can treat myself to a drink and some pommes? Or am I packing everything myself?
Step 7: Hit the trail!
Finally! The reason why you put in all the hours and hours of research beforehand! Enjoy!
(By the way, if you want some on-the-trail hiking tips, read this post here)
Whew! I know, it sounds like a lot of work. Take a moment here to go and thank the hike planner of your group. They’ve probably been putting in overtime.
The good news is that this process is self-reinforcing: the more you hike, the more the research phase becomes second nature. You start recognizing regions, getting a feel for what different areas are like, developing a sense of what you love. And slowly, maybe without even realizing it, you get more comfortable with a topo map - until one day, you stop needing a blog post or a top ten list altogether. You start finding things yourself: mixing and matching trails, piecing together your own routes, connecting two valleys you've always been curious about. Zooming in on a map to follow the mountain range, tracing a ridgeline, noticing a little lake tucked behind a pass. Creating your own wanderweg.
And that, for me, is the goal. Yes yes, I have a blog where I write about all of my Swiss hikes. But I'd love for the hikes I write about to be a source of inspiration and a starting point - and then for you to go off and create your own adventures. Some of my most memorable and satisfying hikes have been ones I found myself, after hours of poring over SchweizMobil. There is something really special about standing on a trail that you researched, planned, and found entirely on your own.
Start with the official trails, get a feel for the country, build your confidence. Do the research. Learn the map. And remember, you’re in Switzerland - you really can’t go wrong ;)